
 EN
EN



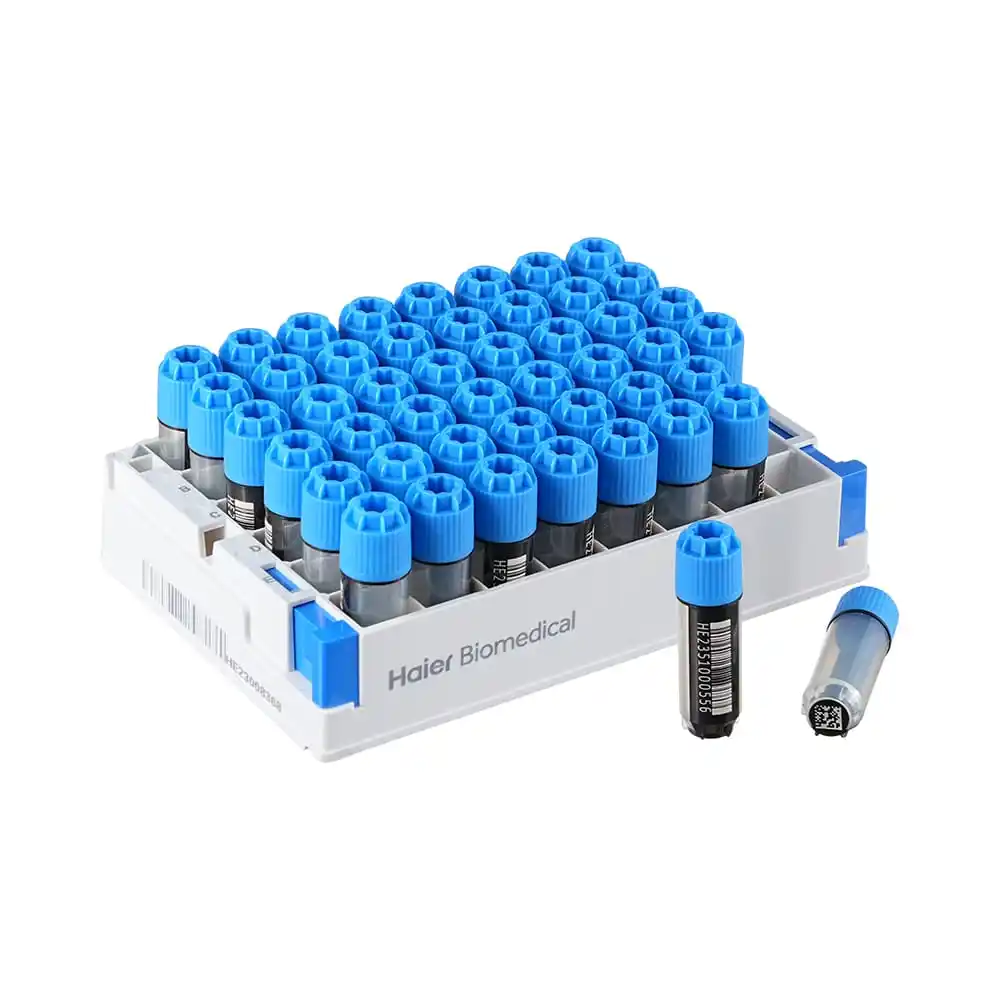
Cross-contamination is one of the most persistent and costly problems in laboratory work, and well plates are among the most vulnerable tools in any life science workflow. Whether you are running high-throughput drug screening, cell viability assays, or standard cell culture protocols, even a minor contamination event can compromise an entire experiment. Understanding how to prevent cross-contamination in well plates is not optional — it is a fundamental requirement for producing reproducible, trustworthy results.
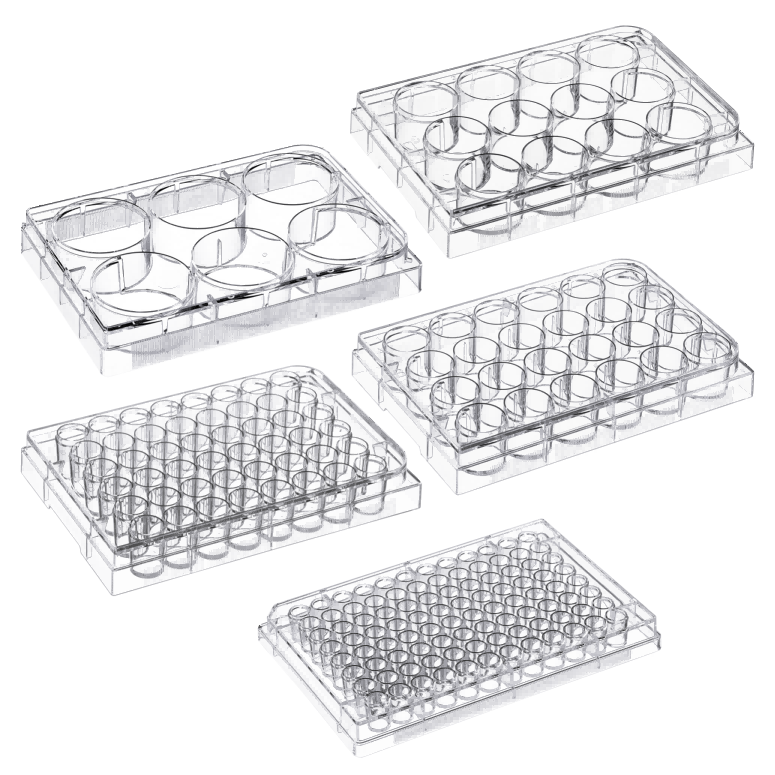
Well plates are designed to allow simultaneous processing of multiple samples in isolated wells, but that physical separation does not automatically guarantee biological or chemical isolation. Aerosol migration, improper pipetting technique, inadequate sealing, and poor laboratory hygiene can all allow contaminants to travel between wells. This article provides practical, actionable tips that researchers and lab technicians can apply immediately to reduce cross-contamination in well plates and improve the integrity of every experiment they run.
Pipetting Practices That Protect Well Plate Integrity
Choosing the Right Pipette Tips for Well Plates
One of the most direct routes of cross-contamination in well plates is the pipette tip. Using non-filtered or low-quality tips significantly increases the risk of aerosol transfer between wells. Filtered pipette tips create a physical barrier that prevents liquid from being drawn back into the pipette barrel, reducing the chance that residual sample from one well contaminates another. Always select tips that are compatible with the geometry of your well plates, particularly when working with 96-well plates or higher-density formats where well spacing is minimal.
Changing tips between every well is another non-negotiable practice when working with well plates. Even when handling samples that appear identical, biological variation or trace chemical residue can introduce error if the same tip is reused. Establishing a strict one-tip-per-well policy across all team members helps protect the reliability of data generated from well plates across every plate format from 6-well to 384-well configurations.
Pipetting Angle and Speed in Well Plates
The angle at which a pipette is held over well plates matters more than many researchers realize. Tilting the pipette too aggressively or dispensing liquid at high speed can cause splashing that introduces material from one well into adjacent wells. A slow, controlled dispense angle of approximately 45 degrees is generally recommended to minimize the risk of splash-based cross-contamination in well plates. Training all laboratory staff on correct pipetting posture and speed for well plates should be part of routine onboarding and periodic quality reviews.
Sealing and Storage Strategies for Well Plates
Using Appropriate Sealing Films on Well Plates
Proper sealing is a critical step that is frequently overlooked when working with well plates. Unsealed or poorly sealed well plates are exposed to airborne particulates, volatile compounds from nearby reagents, and environmental humidity — all of which can compromise sample integrity. Adhesive sealing films designed specifically for well plates provide a tight, well-by-well barrier that prevents evaporation and aerosol intrusion. For applications involving PCR or fluorescence-based assays, optical sealing films maintain transparency while still protecting well plates from contamination.
When stacking well plates during storage or incubation, always ensure that each plate is fully sealed before stacking. Stacking unsealed well plates on top of one another creates a pathway for liquid transfer from the bottom surface of one plate into the wells of the plate below. Using dedicated plate lids or heat-sealed films can dramatically reduce this risk and preserve the separation between samples across all well plates in storage.
Temperature and Environmental Controls for Well Plates
Environmental conditions directly influence the risk of cross-contamination in well plates. Incubators and storage areas that maintain stable temperature and humidity reduce the likelihood of condensation forming on well plates, which can cause liquid migration between wells. Positioning well plates on level, vibration-free surfaces also prevents passive liquid movement. If well plates must be transported within a laboratory, use secure carriers that prevent tilting and liquid redistribution during transit.
Laboratory Workflow Design to Minimize Contamination in Well Plates
Organizing Sample Processing Order in Well Plates
How samples are organized and processed across well plates has a direct impact on contamination risk. When handling multiple sample types in a single session, process samples from lowest concentration to highest concentration. This simple ordering principle reduces the risk that high-concentration samples contaminate lower-concentration neighbors in well plates, where detection sensitivity can amplify the impact of even trace-level cross-contamination. Assigning dedicated sections of well plates to specific sample categories is another effective organizational strategy.
Incorporate negative control wells into every set of well plates as a routine contamination monitoring tool. If negative controls show signal, it is a clear indicator that cross-contamination has occurred somewhere in the workflow involving your well plates. Routine inclusion of controls allows teams to catch contamination events early and investigate root causes before they affect large batches of experiments or clinical data generated from well plates.
Surface Cleaning and Decontamination Around Well Plates
The bench surface where well plates are handled is a frequently underestimated source of contamination. Biological agents, chemical residues, and particulates that accumulate on work surfaces can transfer onto the bottom or outer rim of well plates, eventually reaching the wells. Wiping down bench surfaces with appropriate disinfectants before each session, and using disposable bench liners where practical, creates a cleaner work zone for handling well plates. Laminar flow hoods or biosafety cabinets provide an additional layer of protection when working with especially sensitive samples in well plates.
Researchers should also regularly inspect the condition of well plates before use. Cracked, warped, or improperly manufactured well plates can allow liquid to seep between wells through structural defects. Choosing high-quality well plates with consistent well geometry, flat bottoms, and precisely molded well walls significantly reduces physical contamination pathways. Inspect each set of well plates for visible defects before loading any samples.
FAQ
What causes cross-contamination between wells in well plates?
Cross-contamination in well plates is most commonly caused by reusing pipette tips, aerosol generation during dispensing, improper sealing, splashing from aggressive pipetting, and condensation from poor environmental control. Each of these factors can move biological or chemical material from one well into neighboring wells across well plates of any format.
How do I choose the right well plates to reduce contamination risk?
Select well plates manufactured to tight dimensional tolerances with clearly defined, deep well walls that resist liquid cross-over. Plates made from high-quality, virgin polystyrene with consistent surface treatment reduce adsorption variability. For sensitive assays, well plates with individual well covers or compatible sealing films provide an additional barrier against contamination during incubation and storage.
Can automated liquid handlers reduce cross-contamination in well plates?
Yes, automated liquid handling systems can significantly reduce human-error-driven cross-contamination in well plates by delivering consistent tip changes, controlled dispense speeds, and precise positioning over each well. However, automation does not eliminate all risks — instrument calibration, tip quality, and deck layout must all be properly managed to protect the integrity of well plates processed by automated systems.