
 EN
EN



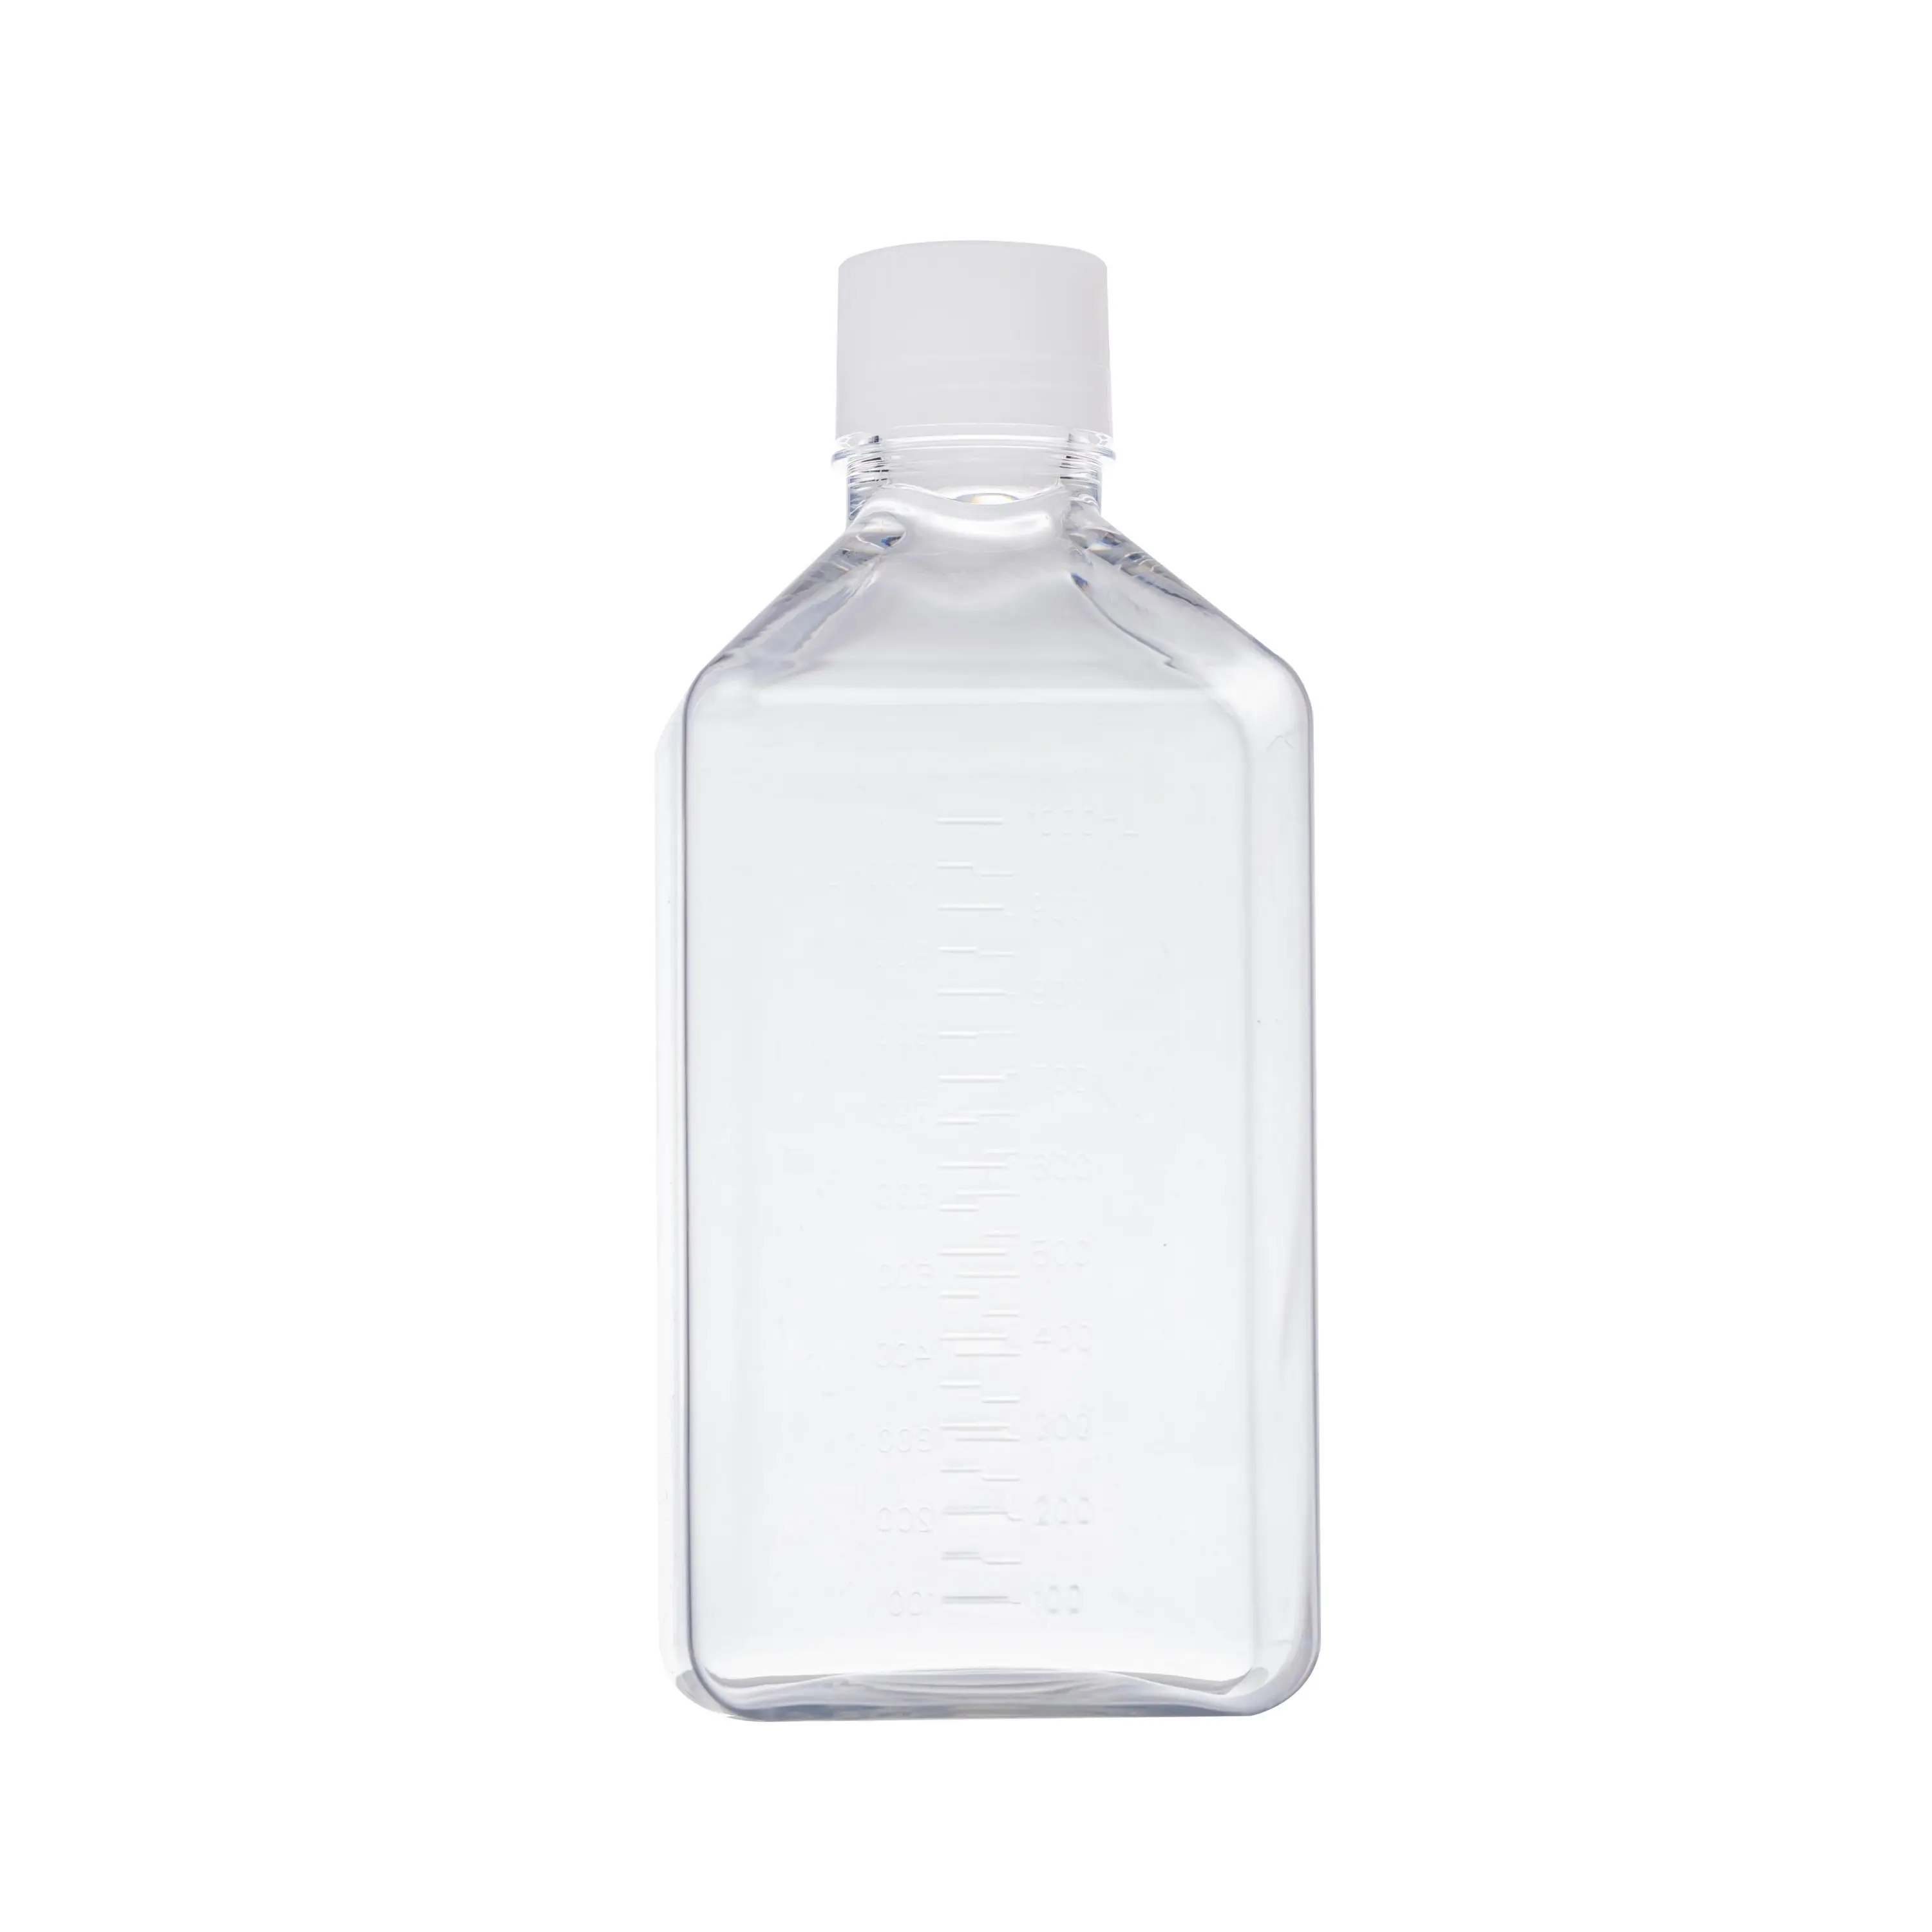
Whether you work in a clinical laboratory, a pharmaceutical production environment, or a research facility, the way you seal and handle serum bottles directly affects the integrity of the samples inside. Improper sealing introduces contamination risks, accelerates degradation, and can compromise entire batches of irreplaceable biological or chemical materials. Getting this right is not optional — it is foundational to reliable results and regulatory compliance.
Serum bottles serve a critical role in preserving the biological activity and chemical stability of their contents. From cell culture media to diagnostic reagents and experimental serums, these containers must be treated with a disciplined, methodical approach from the moment they are filled to the point of final use. This article provides a comprehensive, practical guide to proper sealing and handling practices that protect sample quality and extend the usable life of your stored materials.
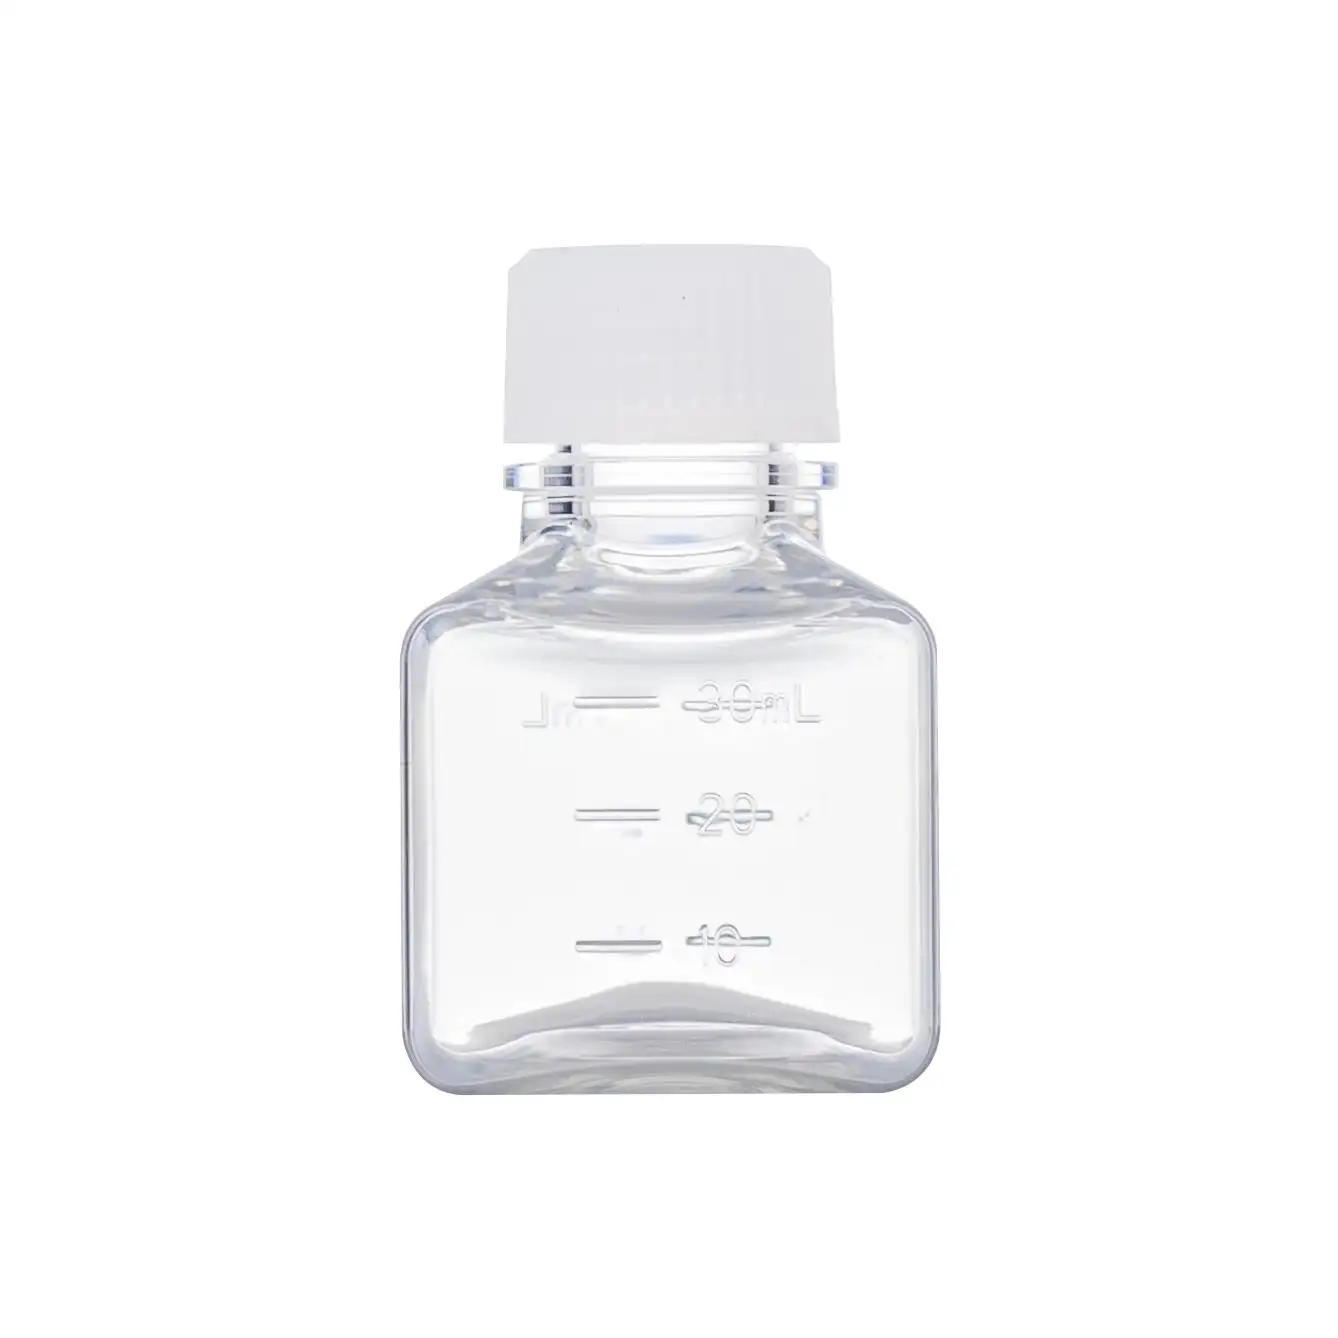
Understanding the Importance of Proper Sealing in Serum Bottles
Why the Seal Is the First Line of Defense
The seal on serum bottles is not just a closure — it is a barrier that separates the internal environment from potential contaminants, gases, and moisture in the surrounding atmosphere. A compromised seal allows oxygen, airborne microbes, and volatile compounds to enter, all of which can alter pH, promote microbial growth, or degrade sensitive proteins and enzymes. In serum-based applications, even trace-level contamination can render a batch unusable.
Many researchers underestimate how quickly a loosely seated cap or a cracked seal can affect sample quality. Within hours of improper sealing, oxidation reactions can begin in aerobic-sensitive formulations. For long-term storage, the risk compounds significantly over days and weeks. Treating every seal as a critical checkpoint rather than a routine step is the mindset that separates careful laboratory practice from careless handling.
The type of seal used also matters considerably. Screw caps with integrated liners, rubber stoppers with aluminum crimp seals, and snap-on closures each have different performance profiles depending on the application. Matching the seal type to the specific content and storage conditions of your serum bottles is an important part of the overall handling protocol.
Selecting the Right Closure for Your Application
Not all closures are created equal, and the right choice depends on several variables including the chemical composition of the contents, the expected storage temperature, the duration of storage, and whether repeated access is required. For serum bottles used in multi-access laboratory environments, closures that allow needle penetration without losing their seal integrity are essential. Rubber stoppers paired with aluminum crimping are a well-established solution for this purpose.
For serum bottles that hold media, reagents, or buffers intended for single-use applications, screw-cap designs with inner liners made from polyethylene or PTFE offer a reliable, chemical-resistant seal that is easy to apply consistently. The liner material must be compatible with the stored liquid to prevent leaching or adsorption of active compounds onto the closure surface.
When working with serum bottles in high-throughput environments, standardizing the closure type across your workflows reduces error rates and ensures that staff can apply seals correctly under time pressure. Variation in closure types within the same protocol is a common but often overlooked source of handling errors.
Step-by-Step Sealing Practices for Serum Bottles
Preparing the Bottle Before Sealing
Proper sealing begins before the closure is ever applied. Serum bottles should be inspected for cracks, chips, or surface defects that could compromise the seal interface. Even a minor imperfection on the rim or neck of the bottle can prevent a full contact seal, allowing gas exchange or microbial ingress over time. Discard any bottle showing physical damage, regardless of the material — glass or plastic.
The neck and threading of serum bottles must be clean and dry before the closure is applied. Residual liquid on the threading can interfere with cap torque, reduce liner compression, and in some cases degrade the liner material itself. Use a lint-free wipe to clean the area, and allow the bottle neck to dry fully in a clean environment before proceeding. This step is especially important after filling under high-humidity conditions or when working with viscous formulations that may drip.
If you are working with biologics or serum-derived materials, perform all pre-sealing steps within a laminar flow cabinet or biosafety cabinet to maintain aseptic conditions. Exposing the open bottle neck or closure surface to uncontrolled airflow for even a short period introduces contamination risk that cannot always be mitigated after the fact.
Applying the Closure Correctly
For screw-cap serum bottles, apply the cap by hand with a consistent, firm torque. Over-tightening is a common mistake — it can crack bottle necks, distort plastic threading, and damage liner integrity. Under-tightening is equally problematic, leaving micro-gaps that allow vapor transmission. Where precision is required, torque wrenches calibrated to the closure manufacturer's specification provide reproducible results across staff members and shifts.
For crimp-sealed serum bottles, the crimping tool must be properly calibrated and used with a consistent technique. An improperly crimped aluminum seal may appear visually intact while still allowing micro-leakage at the rubber stopper interface. Inspect every crimped seal visually and by physical pressure test immediately after application to confirm the stopper is flush and the aluminum skirt is evenly compressed around the bottle neck.
In environments where serum bottles are sealed at scale, periodic audits of the sealing process using integrity testing methods — such as dye ingress or vacuum decay testing — help identify process drift before it affects product quality. Incorporating these checks into standard operating procedures adds a systematic quality layer that manual inspection alone cannot provide.
Handling Serum Bottles Safely Throughout the Workflow
Temperature and Environmental Conditions During Handling
Serum bottles should transition between temperature zones as briefly as possible. When removing serum bottles from cold storage, allow them to equilibrate to room temperature gradually rather than subjecting them to rapid thermal changes. Thermal shock can cause pressure differentials inside the sealed bottle, potentially stressing the closure and in glass bottles creating micro-fractures that are invisible to the naked eye but structurally significant.
Avoid placing serum bottles on surfaces that conduct temperature rapidly, such as bare metal benchtops, when they have just been removed from freezer or refrigerator storage. Foam inserts, insulated trays, or pre-cooled racks help maintain temperature stability while minimizing mechanical stress. These precautions become particularly important when handling serum bottles containing temperature-sensitive biologics or freeze-dried compounds.
Document temperature exposure during handling as part of your chain-of-custody records. For regulated environments, demonstrating that serum bottles were handled within specified temperature ranges throughout their lifecycle is a compliance requirement, not just a best practice. Using temperature-logging tools or indicator stickers on individual serum bottles adds traceability without significantly increasing workflow complexity.
Minimizing Physical Stress and Contamination During Use
When accessing the contents of serum bottles, use aseptic technique consistently. Needle insertion into rubber stoppers should be done at a perpendicular angle using the appropriate gauge to minimize coring — the dislodgement of small rubber particles into the liquid. Always swab the stopper surface with 70% isopropyl alcohol and allow it to dry before needle penetration. This simple step dramatically reduces the chance of introducing surface microorganisms into the bottle contents.
Limit the number of needle punctures to the stopper of serum bottles in multi-access scenarios. Each puncture reduces the stopper's structural integrity and increases the risk of particulate contamination. Where the protocol requires frequent access, consider using transfer systems or dispensing needles specifically designed to minimize stopper damage while maintaining a sealed environment.
Label all serum bottles clearly with content identification, concentration, fill date, opened date, and expiry or use-by date. Mislabeled or unlabeled serum bottles are one of the most common sources of downstream error in laboratory and production environments. Use waterproof labels resistant to condensation for bottles stored at low temperatures, where standard adhesive labels frequently detach.
Storage Practices That Protect Sealed Serum Bottles
Positioning and Organization in Storage Units
Serum bottles should be stored upright wherever possible. Storing them on their sides increases the contact area between the liquid contents and the closure, which can accelerate leaching from liner materials, particularly with organic solvents or low-pH formulations. Upright storage also reduces the chance of slow leakage through closures that may not be fully rated for immersive contact with the liquid they contain.
Organize serum bottles in storage units so that older stock is accessed first. A first-in, first-out rotation system prevents bottles from being pushed to the back of shelves and used beyond their optimal window. In shared laboratory storage areas, clear organization protocols reduce the handling frequency of all stored serum bottles, which directly reduces mechanical stress and seal disturbance over time.
Do not overpack storage racks or refrigerator shelves with serum bottles. Overcrowding increases the likelihood of bottles being knocked over or pressing against each other with enough force to stress caps or stoppers. It also reduces airflow in refrigerated units, creating temperature gradients that can expose some serum bottles to conditions outside their specified storage range.
Long-Term Storage Considerations for Serum Bottles
For serum bottles intended for long-term storage at -20°C or -80°C, ensure the closure materials are rated for the intended temperature range. Some polymer liners and standard rubber compounds become brittle at ultra-low temperatures, leading to seal failure during storage or upon removal. Use closures specifically validated for the temperature range your serum bottles will be exposed to.
Consider secondary containment for serum bottles held in long-term frozen storage. Placing groups of sealed serum bottles in resealable plastic bags or rigid secondary containers reduces exposure to frost accumulation, protects labels from moisture damage, and provides a backup containment layer if a seal does fail. This practice is especially relevant for valuable or irreplaceable biological materials where loss would be costly or unrecoverable.
Audit long-term stored serum bottles periodically for signs of seal degradation, including visible cracks, discoloration, crystalline deposits around the closure, or changes in fill level that may indicate evaporative loss. Catching seal issues early allows you to repackage or use affected contents before degradation has progressed to the point of compromising the material entirely.
FAQ
How often should I inspect the seals on stored serum bottles?
For short-term storage under routine conditions, a visual inspection at each access point is sufficient. For long-term storage scenarios, a scheduled inspection every four to eight weeks is advisable, with special attention to signs of crystallization around the closure, changes in liquid level, or visible stopper deformation. Any bottle showing these signs should be quarantined and assessed before further use.
Can serum bottles with screw caps be used for cryogenic storage?
It depends on the specific bottle and cap materials. Standard PET or PETG serum bottles with generic screw caps are generally not rated for ultra-low temperature storage and may crack or allow seal failure at -80°C. Always verify the temperature rating of both the bottle and the closure before placing serum bottles in cryogenic environments. Use purpose-rated cryovials or bottles with low-temperature validated closures for these applications.
What is the best way to remove a crimp seal from serum bottles without contaminating the contents?
Use a purpose-designed aluminum crimp removal tool to lift the seal cleanly without generating metal fragments. After removing the aluminum crimp, swab the exposed rubber stopper surface with 70% isopropyl alcohol and allow it to dry completely before inserting a needle or pipette. Avoid using improvised tools such as scissors or scalpels, as these increase the risk of generating particulates and create handling hazards.
How do environmental factors like humidity affect the performance of sealed serum bottles?
High ambient humidity can degrade label adhesion, promote corrosion of aluminum crimp seals, and over extended periods soften or degrade certain liner materials. In humid laboratory environments, store serum bottles in humidity-controlled cabinets where possible, or use desiccant packs in secondary containers. Monitoring relative humidity in storage areas and maintaining it within recommended ranges significantly extends the functional life of both the serum bottles and their closure systems.
Table of Contents
- Understanding the Importance of Proper Sealing in Serum Bottles
- Step-by-Step Sealing Practices for Serum Bottles
- Handling Serum Bottles Safely Throughout the Workflow
- Storage Practices That Protect Sealed Serum Bottles
-
FAQ
- How often should I inspect the seals on stored serum bottles?
- Can serum bottles with screw caps be used for cryogenic storage?
- What is the best way to remove a crimp seal from serum bottles without contaminating the contents?
- How do environmental factors like humidity affect the performance of sealed serum bottles?